How to Prepare Your Apartment for an XRF Lead Inspection
If you’ve scheduled XRF testing for your apartment, you’re probably wondering whether you need to empty rooms, move furniture, or even leave your home during the inspection.
The good news is that preparing for an inspection is much easier than most people expect. Unlike traditional traditional paint sampling methods that may require collecting physical samples, XRF lead testing uses advanced technology to identify lead-based paint without damaging painted surfaces. The process is quick, non-destructive, and designed to minimize disruption for residents.
However, a little preparation goes a long way. Giving inspectors clear access to doors, windows, trim, and other painted components helps them complete a thorough inspection in a single visit. It also reduces the chances of delays or return appointments caused by blocked areas.
Whether you’re a homeowner, landlord, property manager, or tenant, this guide explains exactly how to prepare your apartment, what inspectors look for, common mistakes to avoid, and what happens once the inspection is complete.
Quick Answer
Preparing your apartment for XRF testing is simple. Move large furniture away from painted walls, clear access to windows and doors, secure pets, unlock every room, and remove items covering painted surfaces. You don’t need to scrape paint, repaint walls, or leave your apartment. Proper preparation allows inspectors to perform XRF lead paint testing efficiently and helps ensure every required surface is evaluated.
Why More NYC Property Owners Are Choosing XRF Testing
Lead-based paint remains a concern in many homes built before 1978. Even when paint appears to be in good condition, older layers beneath the surface may still contain lead. Identifying those hazards early helps property owners make informed decisions before renovations, property sales, tenant turnover, or compliance inspections. Under New York City’s Local Law 1, buildings constructed before 1960 are presumed to contain lead-based paint, which is part of why the NYC Department of Housing Preservation and Development (HPD) requires owners of older buildings to test and monitor painted surfaces. Identifying hazards early is especially important for young children, who face the greatest health risks from lead exposure according to the CDC’s Childhood Lead Poisoning Prevention Program.
Unlike destructive testing methods, X-ray fluorescence testing provides immediate results without removing paint or damaging walls. This makes it one of the most efficient inspection methods available for residential properties. Property owners addressing multiple compliance needs often pair XRF inspections with water testing to check for lead in plumbing fixtures as well, since paint is not the only potential source of lead exposure in older buildings.
Many building owners choose professional inspections because they provide:
- Fast, on-site results
- Minimal disruption to occupants
- Testing without paint removal
- Accurate evaluation of multiple painted surfaces
- Detailed documentation for future reference
- Support for housing compliance and renovation planning
For apartments with multiple rooms, trim, doors, and windows, this approach saves considerable time while preserving the condition of the property. If you’re still deciding whether an inspection is necessary for your property, it helps to understand why lead-based paint testing matters under current NYC compliance timelines.
What Is XRF Testing?
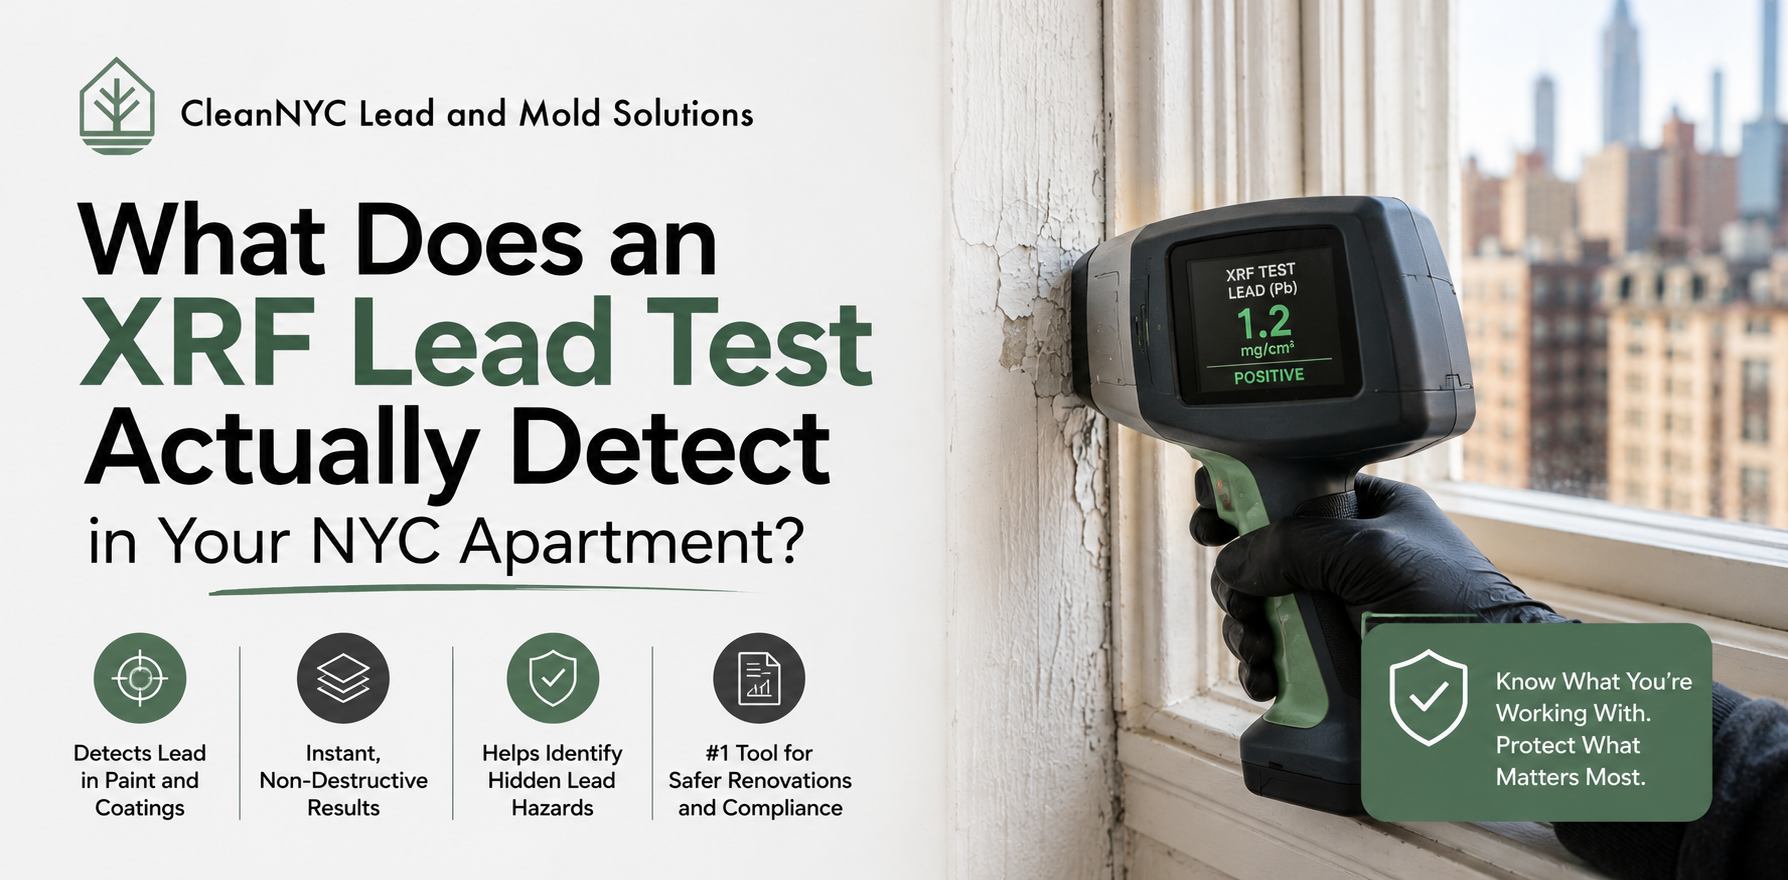
XRF testing is a professional inspection method that detects lead beneath painted surfaces using a handheld analyzer. The equipment emits low-level X-rays that interact with the materials inside painted components. Based on the returned signal, the device determines whether lead is present and measures its concentration.
Because the technology analyzes the paint without scraping or drilling, inspectors can examine many different surfaces during a single visit.
Professional XRF lead testing is commonly used in:
- Apartments
- Condominiums
- Single-family homes
- Multi-family residential buildings
- Schools
- Childcare facilities
- Commercial properties with painted surfaces
The inspection is performed by trained professionals using calibrated equipment that follows established industry standards. For general background on lead hazards and prevention nationwide, the U.S. Environmental Protection Agency’s lead program offers additional resources for homeowners and renters.
Why Preparing Your Apartment Matters
Many people believe inspectors only need access to a few walls. In reality, they often evaluate dozens—or even hundreds—of painted components throughout an apartment.
If furniture blocks a window frame or a closet is inaccessible, those areas may not be tested during the visit. Depending on the inspection requirements, this could result in additional appointments.
Preparing your apartment helps inspectors:
- Reach every required painted surface
- Complete the inspection more efficiently
- Reduce interruptions during the visit
- Produce a more complete inspection report
- Avoid unnecessary scheduling delays
Most apartments require only 30 to 60 minutes of preparation beforehand.
What Areas Are Typically Inspected?
One of the biggest misconceptions about XRF lead paint testing is that inspectors only examine walls. In reality, lead-based paint can be present on many painted building components.
A comprehensive inspection may include:
| Interior Components | Additional Painted Surfaces |
|---|---|
| Doors | Window frames |
| Door frames | Window sashes |
| Baseboards | Window stools |
| Crown molding | Cabinets |
| Built-in shelves | Closets |
| Stair railings | Trim |
| Radiator covers | Columns |
| Painted ceilings (when applicable) | Decorative woodwork |
Inspectors evaluate representative painted surfaces throughout the apartment to determine where lead-based paint may be present.
7 Steps to Prepare Your Apartment Before the Inspection
1. Move Large Furniture Away From Painted Walls
Beds, dressers, bookcases, entertainment centers, and sofas can block access to important inspection areas.
You don’t need to empty the room completely. Simply move large furniture far enough away so inspectors can safely reach painted walls, trim, and baseboards.
Creating a clear workspace also helps prevent accidental damage to your belongings while inspection equipment is being used.
2. Clear Window Areas
Windows are among the most important areas inspected because painted window components experience repeated friction from opening and closing.
Before the appointment:
- Move chairs or tables away from windows
- Remove objects from window sills
- Pull back curtains if they block access
- Open blinds when possible
Providing easy access allows inspectors to evaluate every painted window component without interruption.
3. Unlock Every Room
Inspectors typically need access to all living spaces, including:
- Bedrooms
- Kitchens
- Bathrooms
- Hallways
- Closets
- Storage rooms
- Utility spaces
Locked doors or inaccessible rooms can delay the inspection or require another appointment.
4. Remove Decorations Covering Painted Surfaces
Large mirrors, artwork, floating shelves, and decorative panels may hide painted trim or walls that require inspection.
Removing these items before the appointment saves time and helps inspectors evaluate every accessible painted surface without unnecessary delays.
5. Secure Pets Before the Inspection Begins
Dogs, cats, and other pets may become anxious around unfamiliar equipment or visitors.
Keeping pets in a separate room or safely contained during the inspection helps everyone work safely while reducing stress for your animals.
It also allows inspectors to move freely between rooms without interruptions.
6. Improve Lighting Throughout the Apartment
Although the analyzer performs the actual detection, inspectors also conduct a visual assessment of painted surfaces.
Turn on lights in:
- Hallways
- Closets
- Bathrooms
- Storage areas
- Utility rooms
Good lighting improves visibility and helps inspectors accurately document painted components.
7. Gather Previous Property Records (If Available)
If you have previous inspection reports, renovation records, or maintenance documentation, keep them available for reference.
Helpful documents may include:
- Previous lead inspection reports
- Renovation history
- Property maintenance records
- Paint repair documentation
- Building construction information
While these records are not always required, they can provide useful background that supports a more informed inspection process. If work was recently completed under the EPA’s Renovation, Repair and Painting (RRP) Program, having those records on hand can also help inspectors understand the property’s maintenance history.
What You Do Not Need to Do Before XRF Testing
Many residents prepare far more than necessary because they assume an inspection involves construction work. Fortunately, XRF testing is designed to be minimally disruptive, so there are several tasks you can safely skip.
You do not need to:
- Scrape or sand painted surfaces
- Remove existing paint
- Repaint walls before the inspection
- Empty every closet or cabinet
- Move all furniture out of the apartment
- Cover floors with plastic sheeting
- Leave your apartment unless instructed by the inspector
One of the biggest advantages of XRF lead testing is that it evaluates painted surfaces in their existing condition. Altering surfaces beforehand could make it more difficult to understand the property’s true condition.
What Happens During an XRF Lead Inspection?
Knowing what to expect can help you feel more prepared and ensure the appointment runs smoothly.
Step 1: Property Walkthrough
The inspector begins by reviewing the apartment layout and identifying the painted components that require evaluation. If you have previous inspection reports or renovation records, they may review those documents before testing begins.
Step 2: Visual Assessment
Before using the analyzer, the inspector performs a visual assessment of painted surfaces. They look for areas that may require closer attention, including worn paint, impact surfaces, and components that experience regular friction.
This step helps create a systematic inspection plan and ensures no important areas are overlooked.
Step 3: X-Ray Fluorescence Testing
Using a calibrated handheld analyzer, the inspector performs XRF testing on representative painted surfaces throughout the apartment.
The device measures the presence of lead without damaging the paint. Each reading takes only a few seconds, allowing inspectors to evaluate numerous components efficiently during a single visit.
Step 4: Recording the Results
Our inspection team documents every measurement according to its location within the apartment. This information is organized into an inspection report that identifies which painted components were tested and the findings for each area. That same documentation can also support HPD filing requirements for property owners working through Local Law 1 compliance.
Accurate documentation is especially valuable for future renovations, maintenance planning, property transactions, and housing compliance.
Step 5: Final Review
Once testing is complete, the inspector confirms that all required areas have been evaluated. If any surfaces could not be accessed because of furniture, locked rooms, or other obstacles, they will explain whether additional access is needed before the inspection can be finalized. For renovation projects, many property owners also schedule dust wipe clearance testing once work is finished to confirm the space is safe for reoccupancy.
Common Mistakes That Delay an XRF Inspection
Most delays are avoidable with a little preparation. Here are some of the most common issues inspectors encounter:
Furniture Blocking Key Areas
Heavy furniture placed directly against walls, windows, or baseboards may prevent access to painted surfaces.
Locked or Inaccessible Rooms
Every room that contains painted components may need to be inspected. Locked bedrooms, storage areas, or utility rooms can delay completion.
Decorations Covering Trim or Walls
Large mirrors, artwork, mounted shelves, and decorative panels often conceal painted areas that require testing.
Pets Roaming During the Inspection
Friendly pets can still interrupt the inspection process. Keeping them safely contained helps inspectors move efficiently between rooms.
Last-Minute Painting or Repairs
Fresh paint applied immediately before an inspection may complicate documentation and create questions about the property’s maintenance history. If recent work has been completed, let the inspector know before testing begins.
How Long Does XRF Testing Usually Take?
Inspection times vary depending on the size of the apartment and the number of painted components.
| Apartment Size | Estimated Inspection Time |
|---|---|
| Studio | 30–45 minutes |
| One-bedroom | 45–60 minutes |
| Two-bedroom | 60–90 minutes |
| Three-bedroom or larger | 90–150 minutes |
Properties with extensive trim, built-in cabinetry, decorative molding, or multiple closets may require additional time.
Benefits of Professional XRF Testing
Although several lead detection methods exist, XRF testing remains one of the most practical options for evaluating painted surfaces in occupied homes.
Key advantages include:
Non-Destructive Inspection
Unlike traditional paint sampling, XRF lead paint testing does not require scraping, drilling, or removing paint from walls or trim.
Immediate Results
Inspectors receive readings on-site, allowing them to evaluate many surfaces during a single appointment without waiting for laboratory analysis.
Comprehensive Coverage
A professional inspection can assess doors, windows, trim, baseboards, cabinets, railings, and numerous other painted components throughout the apartment.
Minimal Disruption
Residents can usually continue their normal routine while the inspection takes place, making the process convenient for occupied homes.
Reliable Documentation
A detailed inspection report provides valuable information for property owners, landlords, buyers, and managers who need a clear record of tested surfaces.
Final Thoughts
Preparing your apartment for XRF testing is straightforward, but it can make a significant difference in the efficiency of the inspection.
By moving furniture away from painted surfaces, clearing access to windows and doors, securing pets, and making every room accessible, you help inspectors complete a thorough evaluation without unnecessary delays.
Whether you’re preparing for routine maintenance, a renovation project, a property purchase, or housing compliance, taking these simple steps helps ensure every accessible painted component can be properly assessed. If you’d like to see how this process has worked for other NYC properties, take a look at our completed inspection projects before your appointment.
Professional XRF lead testing offers a fast, accurate, and non-destructive way to identify lead-based paint while preserving the condition of your apartment. A well-prepared home supports a smoother inspection and provides clearer, more reliable results for everyone involved.
Frequently Asked Questions
About the Author
This article was developed by the editorial team at CleanNYC Lead and Mold Solutions, a company focused on lead inspection, environmental testing, and property safety, with additional background from our inspection team. The content is based on current industry standards, practical field experience, and guidance from recognized housing and public health authorities. Every article is reviewed for accuracy, clarity, and relevance to help homeowners, tenants, landlords, and property managers make informed decisions about lead safety and regulatory compliance. The information is updated periodically to reflect evolving best practices and inspection requirements.